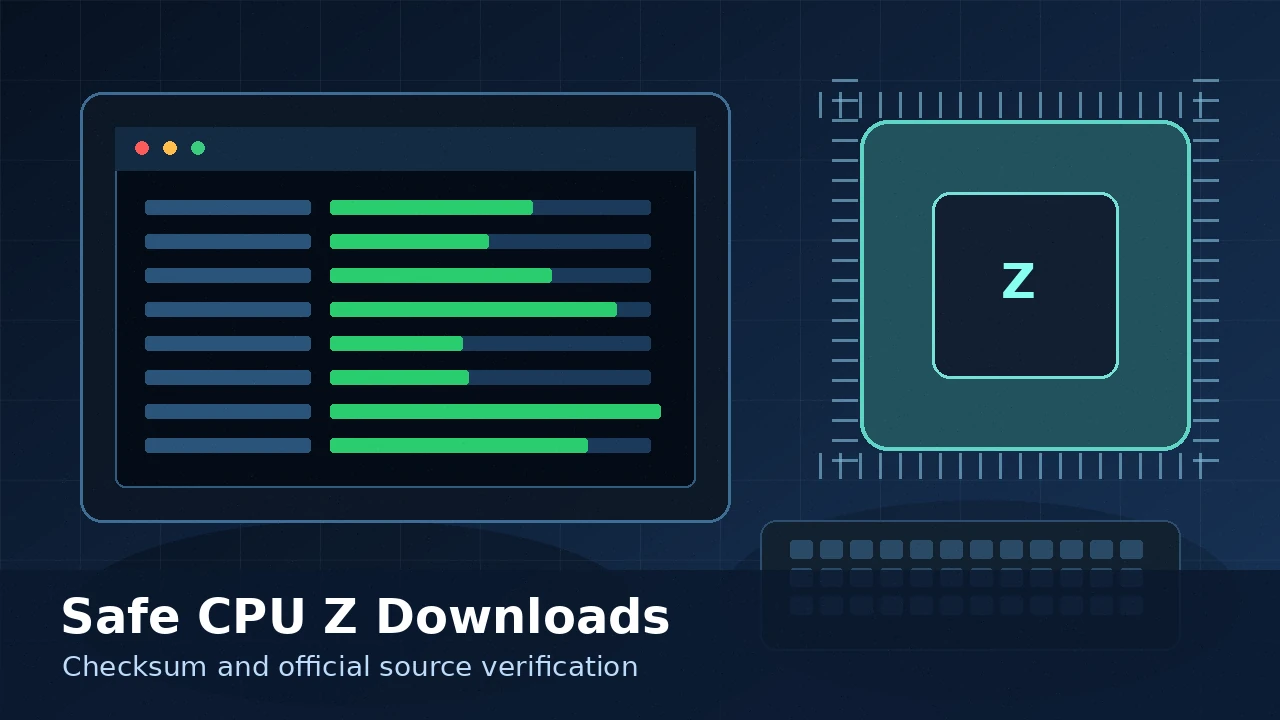
CPUZ is one of the lightest, most trusted utilities you can put on a Windows PC — but the single thing that matters most is where you download it. This guide walks you from download to first launch the safe way.
What you'll need
Almost nothing. CPUZ runs on practically any Windows machine made in the last fifteen years, so the requirements are trivially small:
- Windows 7, 8, 10 or 11 (32-bit or 64-bit), Windows Server, or a Windows-on-ARM device.
- About 10 MB of free disk space.
- An internet connection for the initial download and future updates.
Step 1: Download CPUZ from the official source
CPUZ is developed by CPUID, and the safest copy always comes from their website. Reputable software directories also mirror it, but the official page guarantees an unmodified file. Avoid random "download" pages plastered with oversized green buttons — those are where bundled adware hides.
- Open the official CPUID CPUZ page from our download section.
- Pick the build that matches your system: the standard x86/x64 setup for most PCs, or the ARM64 build for Snapdragon-based Windows laptops.
- Save the file somewhere you can find it, such as your Downloads folder.
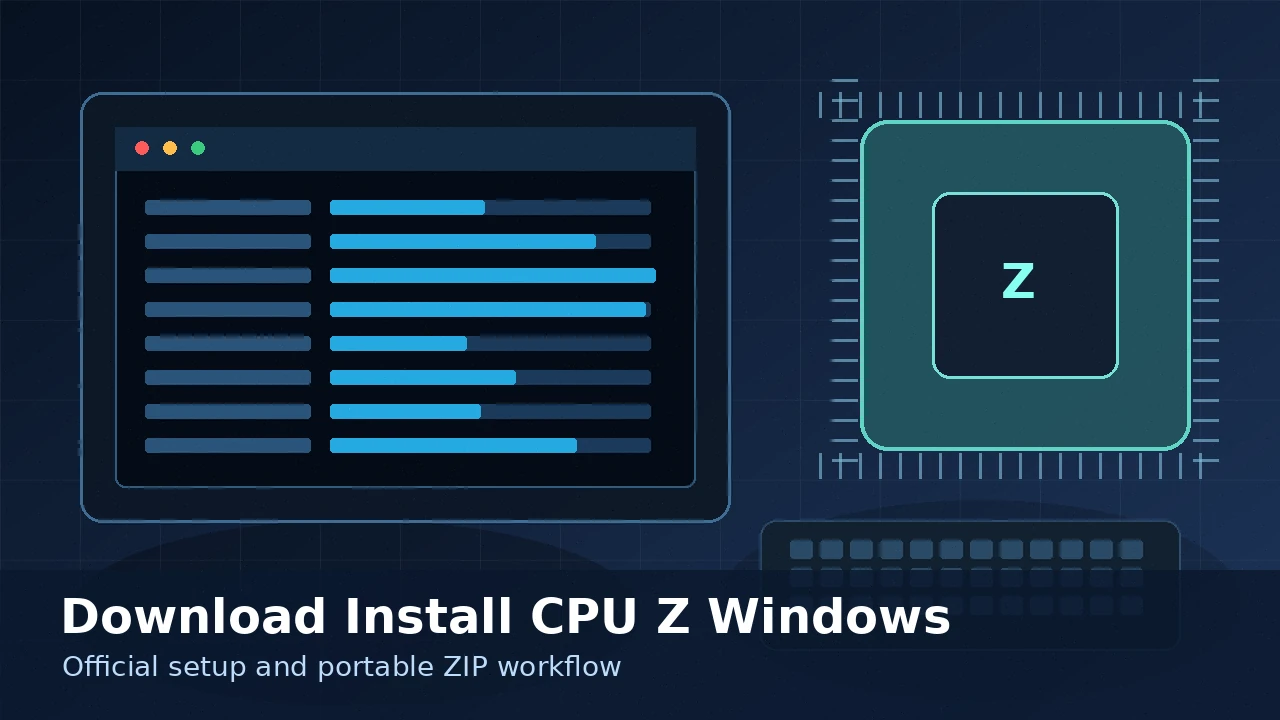
Step 2: Installer or portable — which to choose?
CPUID offers two flavours, and the right one depends on how you work.
- Installer (.exe): the classic choice. It adds Start-menu shortcuts and registers an uninstaller. Best for a machine you use every day.
- Portable (.zip): extracts and runs anywhere, including a USB stick, and leaves no trace in the Windows registry. Ideal for technicians who hop between machines.
Step 3: Run the installer
If you chose the installer, the process is quick and free of the "extras" that plague lesser downloads:
- Double-click the downloaded
cpu-z_x.xx-en.exefile. - Approve the Windows User Account Control (UAC) prompt — this is normal, as CPUZ needs low-level hardware access.
- Accept the license agreement and keep the default installation folder.
- Click through to finish. There are no toolbars or third-party offers to decline.
Just unzip the archive and run cpuz_x64.exe on 64-bit Windows (or cpuz_x32.exe on 32-bit). No installation step at all.
Step 4: First launch — what you'll see
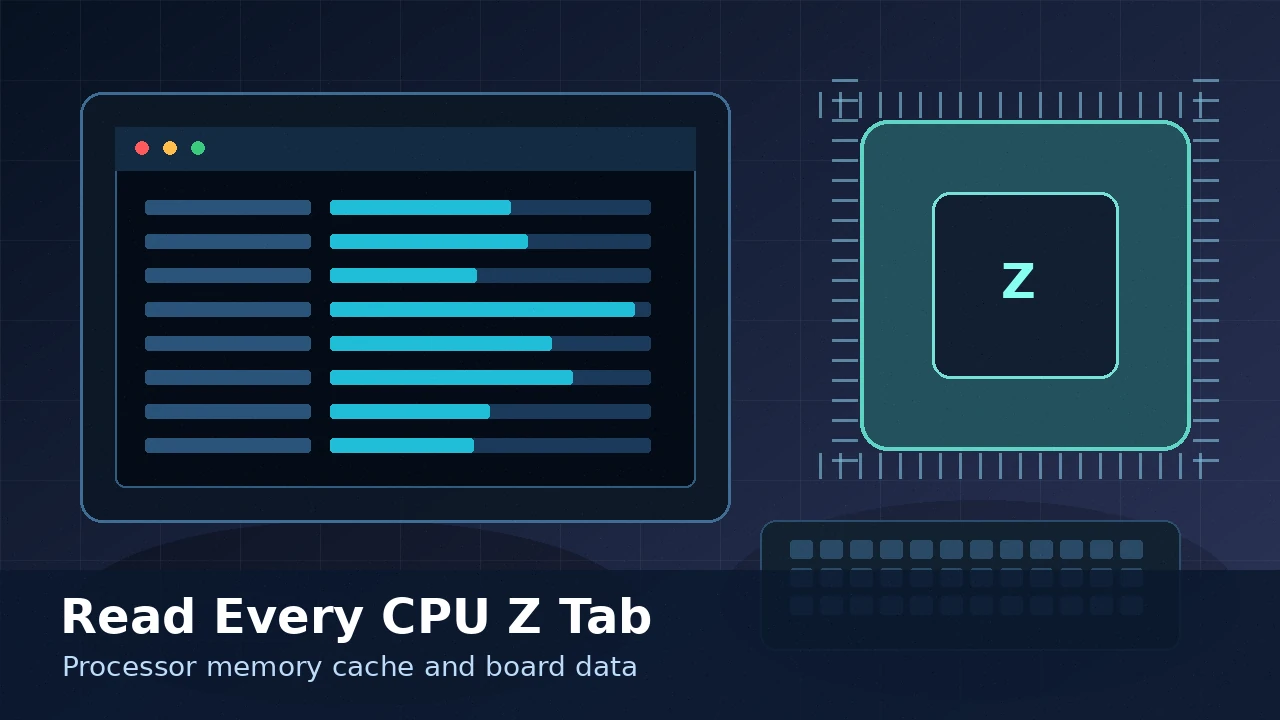
Open CPUZ from the Start menu. It loads almost instantly onto the CPU tab, which shows your processor's name, code name, socket, core voltage and live clock speed. Across the top you'll find tabs for Caches, Mainboard, Memory, SPD, Graphics, Bench and About. If you're new to all those readings, our companion guide on how to read every CPUZ tab breaks them down one by one.
Keeping CPUZ updated
New CPUs, chipsets and memory kits arrive constantly, and CPUZ adds detection for them in frequent releases. To make sure your hardware is identified correctly:
- Re-download the latest version whenever you install new components.
- Check the official page periodically, or subscribe to update alerts.
- For brand-new processors, a newer build often fixes a "wrong name" or "unknown" reading.
Uninstalling cleanly
If you ever need to remove it, the installed version is listed under Settings → Apps (or the old Control Panel) — uninstall it like any other program. The portable build needs no uninstall at all; simply delete the folder.
Quick troubleshooting
- Antivirus warning? Low-level tools sometimes trigger false positives. If you downloaded from the official source and verified the checksum, it's safe.
- App won't start? Try running it as administrator and updating to the newest build.
- Wrong CPU name? Your hardware may be newer than your CPUZ version — update and relaunch.
Ready to grab it?
Download the latest CPUZ from the official source.
That's the whole process. Because CPUZ is small, clean and free, the only real risk is downloading a tampered copy — which is exactly why we always point you to the official source. If you want to be extra careful, read our short guide on verifying that your CPUZ download is safe.
Choosing the right build for your PC
CPUID publishes a few variants, and picking the correct one saves confusion later:
- x86/x64 setup: the standard download that suits the overwhelming majority of desktops and laptops.
- ARM64 build: for Windows-on-ARM machines using Snapdragon processors. The regular build won't report those correctly.
- Classic 2.16: an older release kept available for maximum compatibility on legacy x86/x64 systems.
If you're unsure whether your PC is 32-bit or 64-bit, almost every machine sold in the last decade is 64-bit, and the 64-bit executable is the right pick.
Where settings live, and why portability helps
The installed edition keeps only a small configuration and doesn't sprawl across your system, while the portable build stores nothing outside its own folder. That's why technicians love the portable copy: drop it on a USB stick, run it on a client's machine, and walk away leaving zero footprint. It's also handy for locked-down work PCs where you can't install software at all.
Frequently asked installation questions
- Do I need to pay? No. CPUZ is free; donations to CPUID are optional.
- Will it slow my PC down? No. It uses negligible resources and only polls hardware while it's open.
- Is it English only? The official build is English; some mirrors wrap localised versions, but the official English build is the safest choice.
- Can I run it without admin rights? The portable build often runs where installers are blocked, though a few readings need elevated access.
With the right build installed from the right place, you're set. Next, learn to interpret what you're seeing with our tab-by-tab reading guide.
Key takeaways
- CPUZ is free; always download it from the official CPUID source.
- Choose the installer for everyday use, or the portable ZIP for USB toolkits.
- Installation has no bundled toolbars — keep the defaults.
- Verify the file checksum and keep the app updated for new CPU support.